This is one of the prints I made during my Gelli Arts Printing Plate bonanza a few weeks ago. I liked it and decided to scan it, so I could print it on watercolor paper.

When I printed it on my Epson R2000, however, the colors were drab. This is one of my frustrations with printers - the incessant fussing with printer settings. Media type. Print Mode. Color Mode. Color Profile. Paper selection. (Where's the "Make it look exactly like it is on the screen" button?) It reminds me of learning calligraphy and all the options between nibs, papers, holders, inks, and variations of alphabets.

I did some tweaking, and the second print (on far right) was much better. I decided to go into Photoshop itself and change the hue. (Image>Adjustments>Hue/Saturation)

While doing this, I discovered moving the "Hue" slider bar from left to right yielded all sorts of wonderful variations to my original print. The colors changed, and even areas unseen on the original print became evident.

When I think of applying this technique to all the backgrounds I have saved over the years...

...well, this could be a full-time job! :)

The stencil I used in making the original print on my Gelli Arts Printing Plate was given to me by Bill Lilly. You can see it on the right. He cut it by hand (of course!). In addition to his tremendous pen skills, he also sports amazing skills with a pair of scissors.

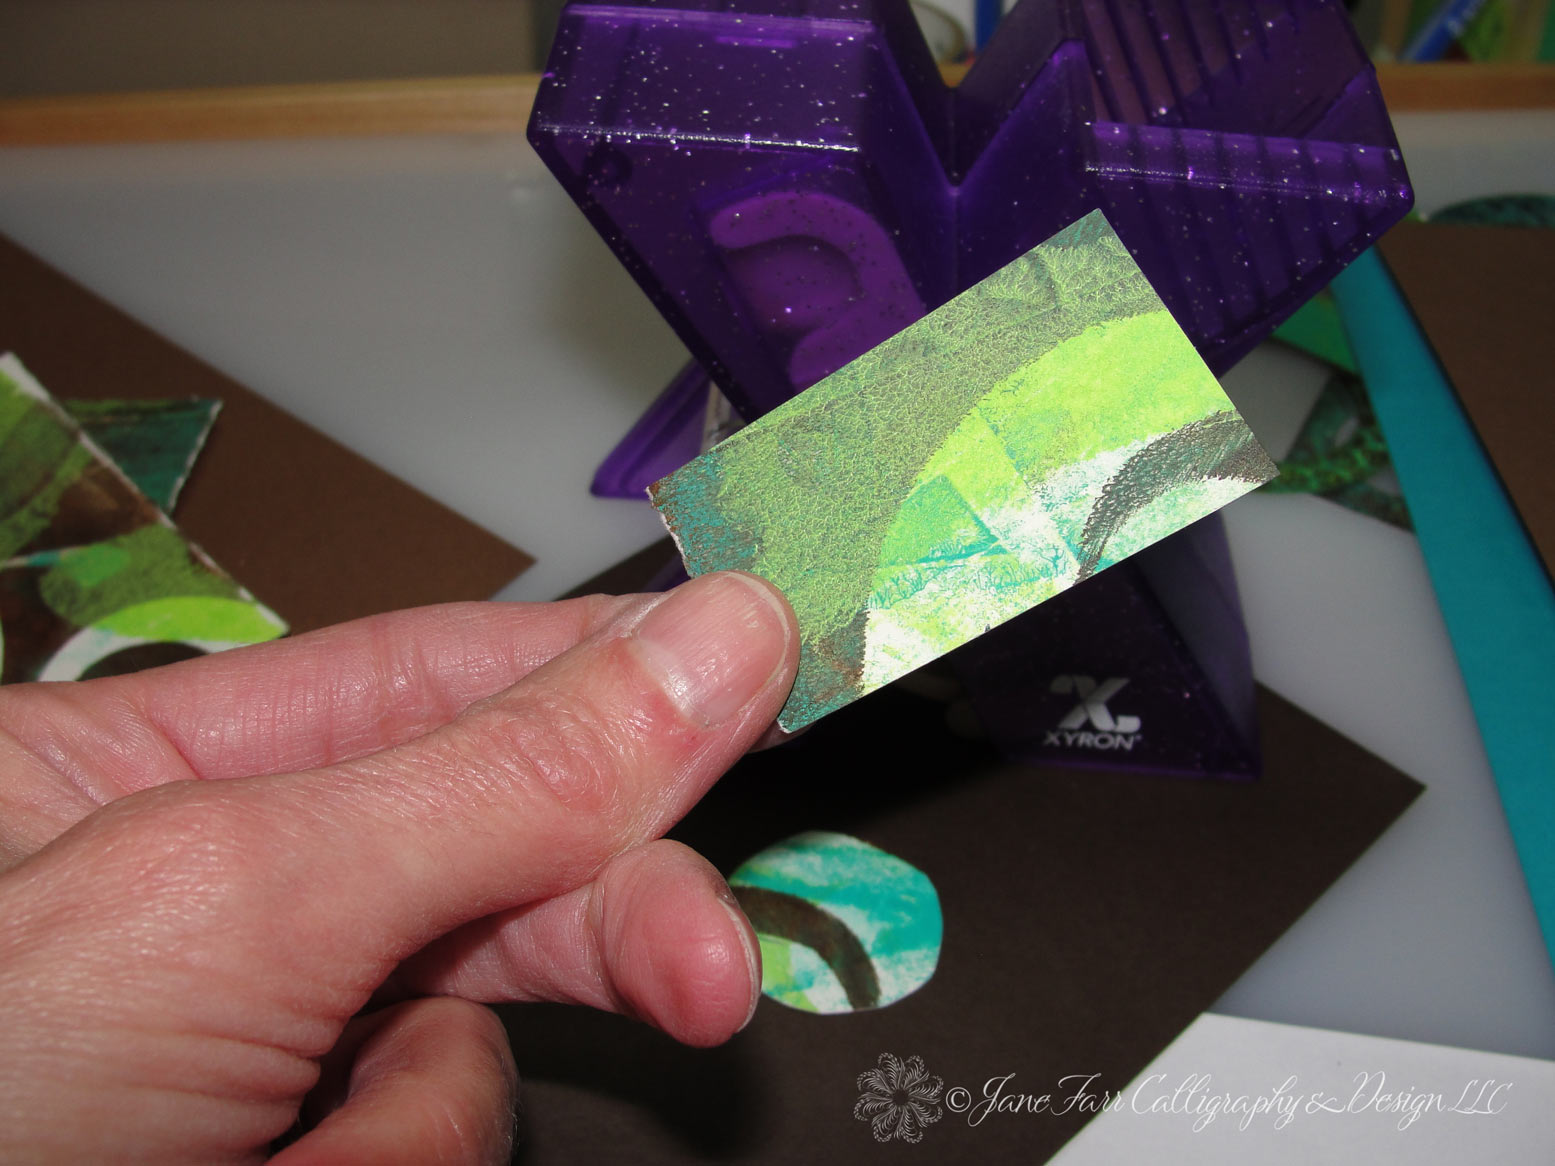
I traced on the print using a pencil and an envelope template.

Trimmed with an Exacto knife.

Used a stylus to score the inside edge of the template window.
(Sorry for the blurry image.)
(Sorry for the blurry image.)

Folded using a bone folder. Then I opened the envelope flat to do the addressing.

I wanted to try this new ink I received from Kuretake UK.

I love the bold colors.

Here is another print I made, after playing with the hue on Photoshop. The colors on my original Gelli Arts print are quite different. Using Photoshop, I added some of my lettering. Fun!
Want to learn Photoshop for calligraphers? You're in luck!
Harvest Crittenden is now accepting registrations for her online course: Photoshop for Calligraphers
She is also offering a separate, online course: Copperplate Calligraphy for Beginners
To learn more or to register, visit the Online Classes page of Harvest's website by CLICKING HERE.
Harvest is an excellent teacher, and her online courses are well worth the time and financial investment.
It's hard to believe this is the last day of November.
Wishing you a great weekend.
Go forth and flourish!
xo