This is A Place to Flourish's 200th blogpost! That's a wholelotta Fridays, and I appreciate your visits and support these past few years. To celebrate, I am going to give away the "Put On Love" piece pictured above. As promised, here is a step-by-step of how I did the embossing for this piece originally posted
HERE.
The Calligraphy Guild of Indiana hosted Sharon Hanse in 2009 for her
Dimensional Calligraphy workshop, which is where I learned this process. First, you start with a piece of Bristol board. Pictured above is the brand and style I use.
Sharon had us do our layout on tracing paper, but because I am lazy, I rough out my designs directly onto the Bristol board. I use a standard #2 pencil. I didn't happen to take any pictures of the "Love" design when I did these steps, so this morning I did the word "Peace" as an example for this tutorial. As I design, I keep in mind that my stylus will need to fit into the letterforms. Thins cannot be too thin.
Once I am happy with the design, I use a technical pen and trace over the lines that I will be cutting. I write "save" or "s" in the areas that will drop out of the design, because I don't want to accidentally throw them away. I clean up some of the pencil marks with an eraser.
Next, I use an Exacto knife and cut along the black lines. I put the "saved" pieces aside for later. (If you think of the word "Peace" written in black ink, it's the black ink that I will NOT be saving. I am saving the white space of the design.) I don't have the time this morning to do all the cutting on this piece, so I am going to switch back to the "Love" design to show you the next steps.
Next, I run glue over the FRONT SIDE (important!) of the stencil/design and then turn the design UPSIDE DOWN onto a piece of fairly transparent layout paper. I believe I used Canson Pro-Marker layout paper. I press the Bristol board onto the layout paper, making sure the lettering keeps a nice form. Then I repeat this same step with the "saved" drop-out pieces. Once the design is how I want it, I put it under some heavy books until dry.
Once the stencil is firmly adhered to the layout paper, I'm ready to emboss. I like using Arches Text Wove, Rives BFK, and Canson Mi-Teintes papers when embossing. If there will be other lettering on the piece, then I may do it first. (or I may not!) :)
IMPORTANT: Turn your paper upside down before you begin embossing.
The embossing will be easier if you put a piece of waxed paper between your good paper and your stylus. I use these glassine envelopes from the USPS.
Then using the large end of the stylus, I trace along the inside edge of the stencil a few times with medium pressure. If you use too much pressure, especially on the first pass, you may tear your good paper. Once I have gone over the stencil a few times with the large end of the stylus, I will switch to the smaller end and repeat.
Finished!
I hope I have clearly explained the process. If not, and you have questions, just let me know.
To celebrate my 200th post here at A Place To Flourish, I am giving away this "Put On Love" piece. It is a piece based on Colossians 3: 12-14.
To enter the giveaway, just leave a comment in the comments section of this "200th Flourish Friday and Embossing Tutorial" post. (No emails, please. Those of you that subscribe via email will need to go to the actual post at Blogger.) Be sure to include your first name and at least your last initial in your comment. You have until Thursday, June 21, 2012 at 5pm Eastern Time to enter. I will use Random.org to choose a winner and announce the winner's name in next Friday's post.
**Update: The "Put On Love" giveaway is now closed. Thank you!**
Thank you for helping me celebrate this milestone!!
Have a great weekend.
Go forth and flourish.
xo
Jane




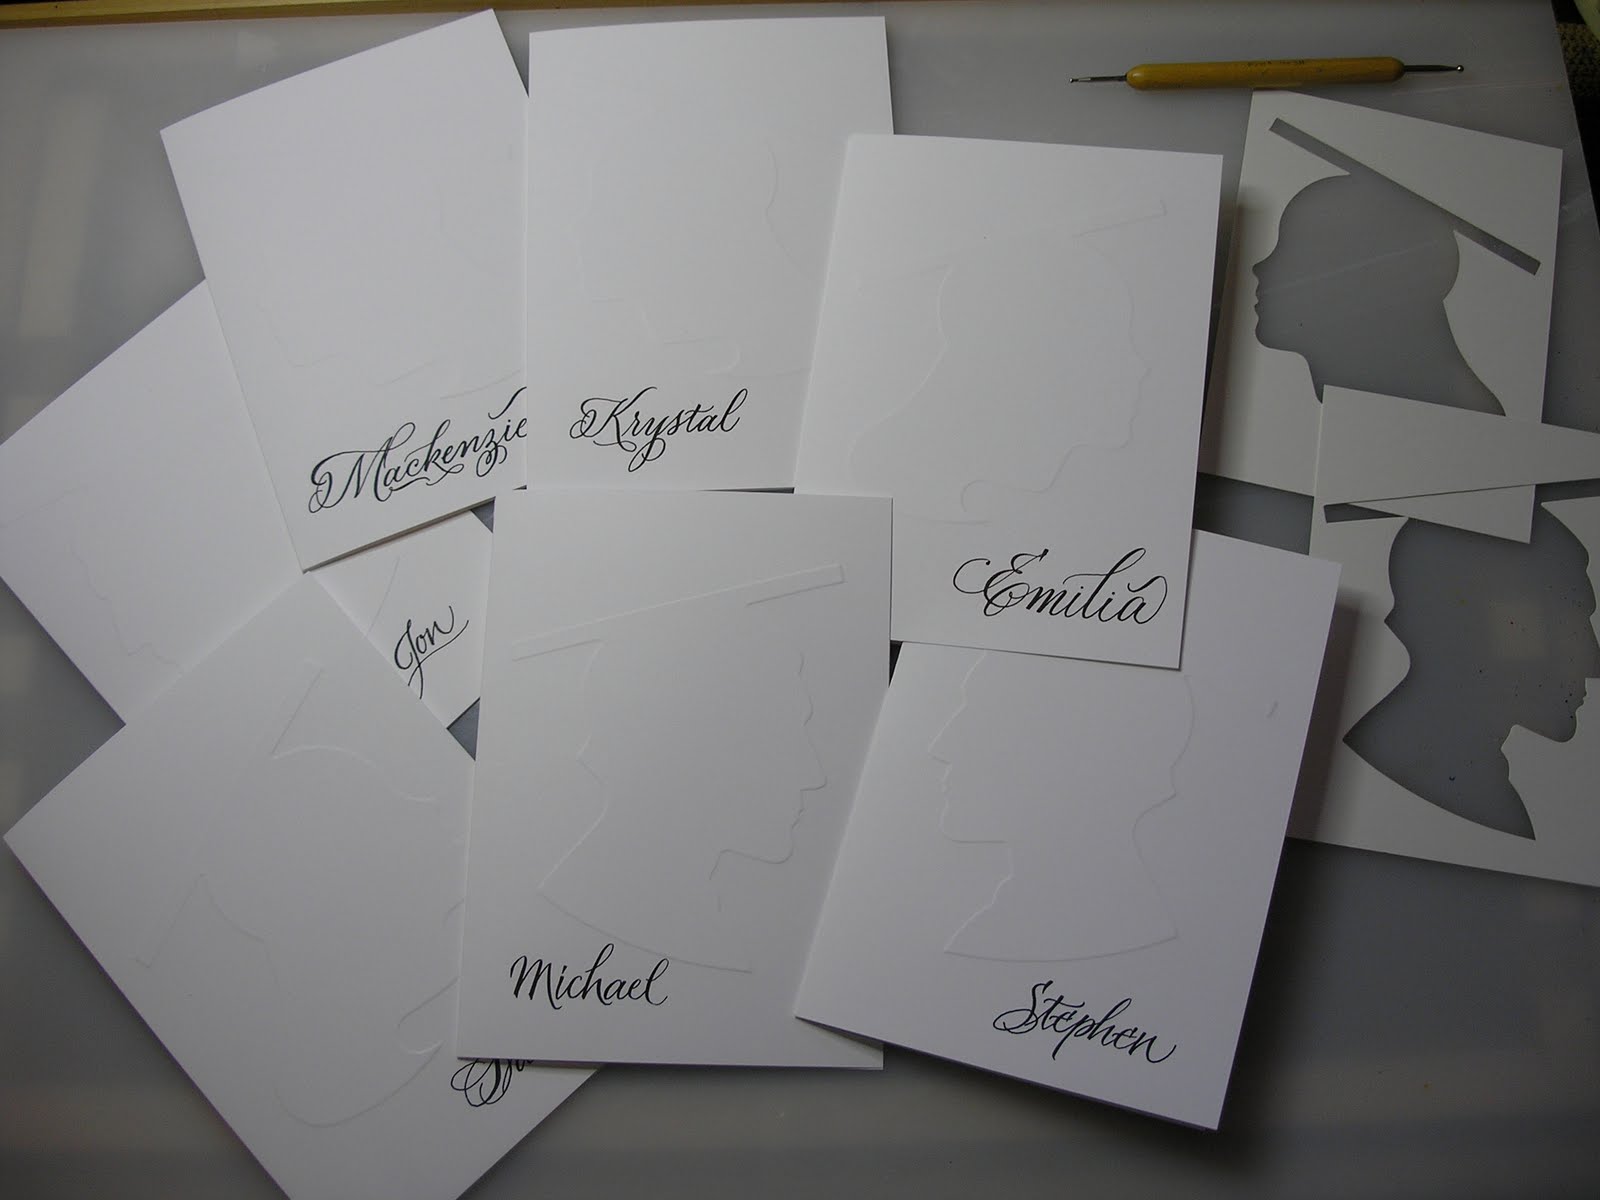


 Another project Sharon had us complete was an embossing of our lettering on a piece of copper. (Chillax is a blend of "chill out" and "relax.") I discovered the wider the letterforms the better. I got too thin in a few places. I added the handle and beads at home. I want to find a little hanger for it, so I can put it on the back deck. (Since that's where we do most of our chillaxing in the summer.)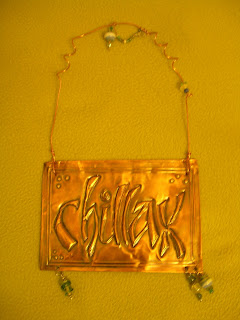
 Using the stencil from above, I did a blind embossing on a piece of Canson Mi-Teintes. I plan on lettering Proverbs 3:5-6 on it, which is one of my favorite verses from the Bible.


